
| 일 | 월 | 화 | 수 | 목 | 금 | 토 |
|---|---|---|---|---|---|---|
| 1 | 2 | 3 | ||||
| 4 | 5 | 6 | 7 | 8 | 9 | 10 |
| 11 | 12 | 13 | 14 | 15 | 16 | 17 |
| 18 | 19 | 20 | 21 | 22 | 23 | 24 |
| 25 | 26 | 27 | 28 | 29 | 30 | 31 |
- EditText
- TableLayout
- FrameLayout
- Professional Android
- switch
- Application
- manifest
- Chip
- layout
- Guideline
- PlainText
- AutoCompleteTextView
- GridLayout
- Android
- TEXT
- LinearLayout
- CheckedTextView
- Kotlin
- textview
- ToggelButton
- button
- TextInputlayout
- RelativeLayout
- constraintlayout
- RaduoButton
- intent-filter
- androidstudio
- Today
- Total
근본있는 블로그
Design Palette 훑어보기 - Text편 - 1 본문

Android Studio는 layout을 만들 떄 Code로 작성하는 것 외에도 Design을 제공합니다. 오늘은 Design에서 제공되는 Palette에는 어떤 것들이 있는지 살펴보겠습니다.
Text
TextView
TextView는 사용자에게 글을 보여줄 수 있는 요소입니다.
Plain Text (Edit Text)
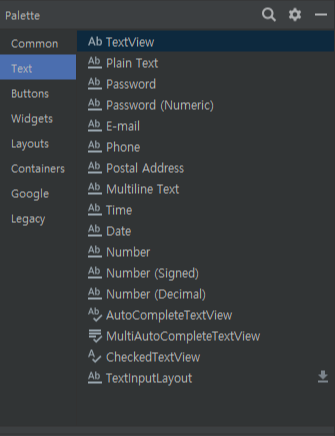
Plain Text는 TextView와 거의 동일하나 가장 큰 차이점은 사용자가 입력값을 넣을 수 있다는 것 입니다. 위에 사진을 보시면 이름 옆에 AB와 AB가 보일 것입니다. 밑줄의 의미는 수정이 가능하다라는 의미로 받아들이시면 되겠습니다.
그렇다면 Plain Text 밑으로 Number(Decimal)까지 모두 수정가능한 Text라는 것을 알 수 있습니다.
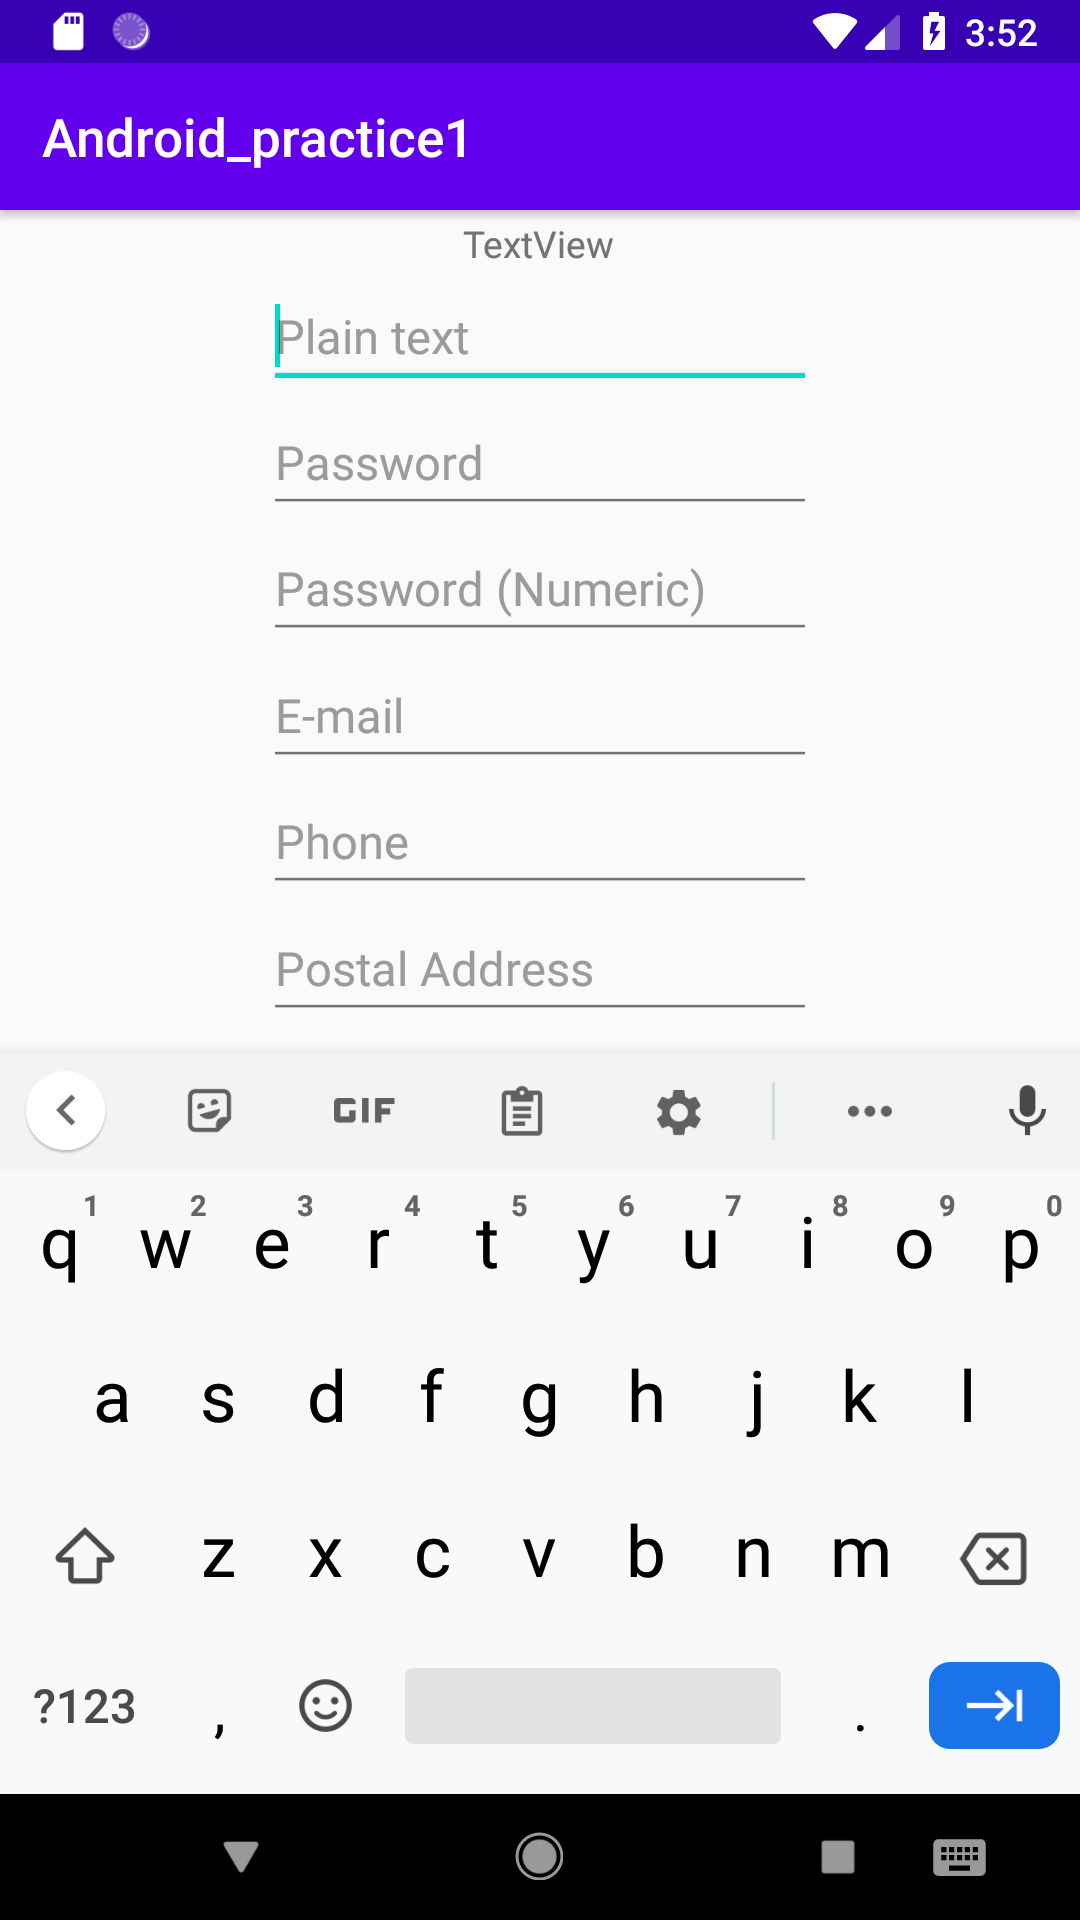
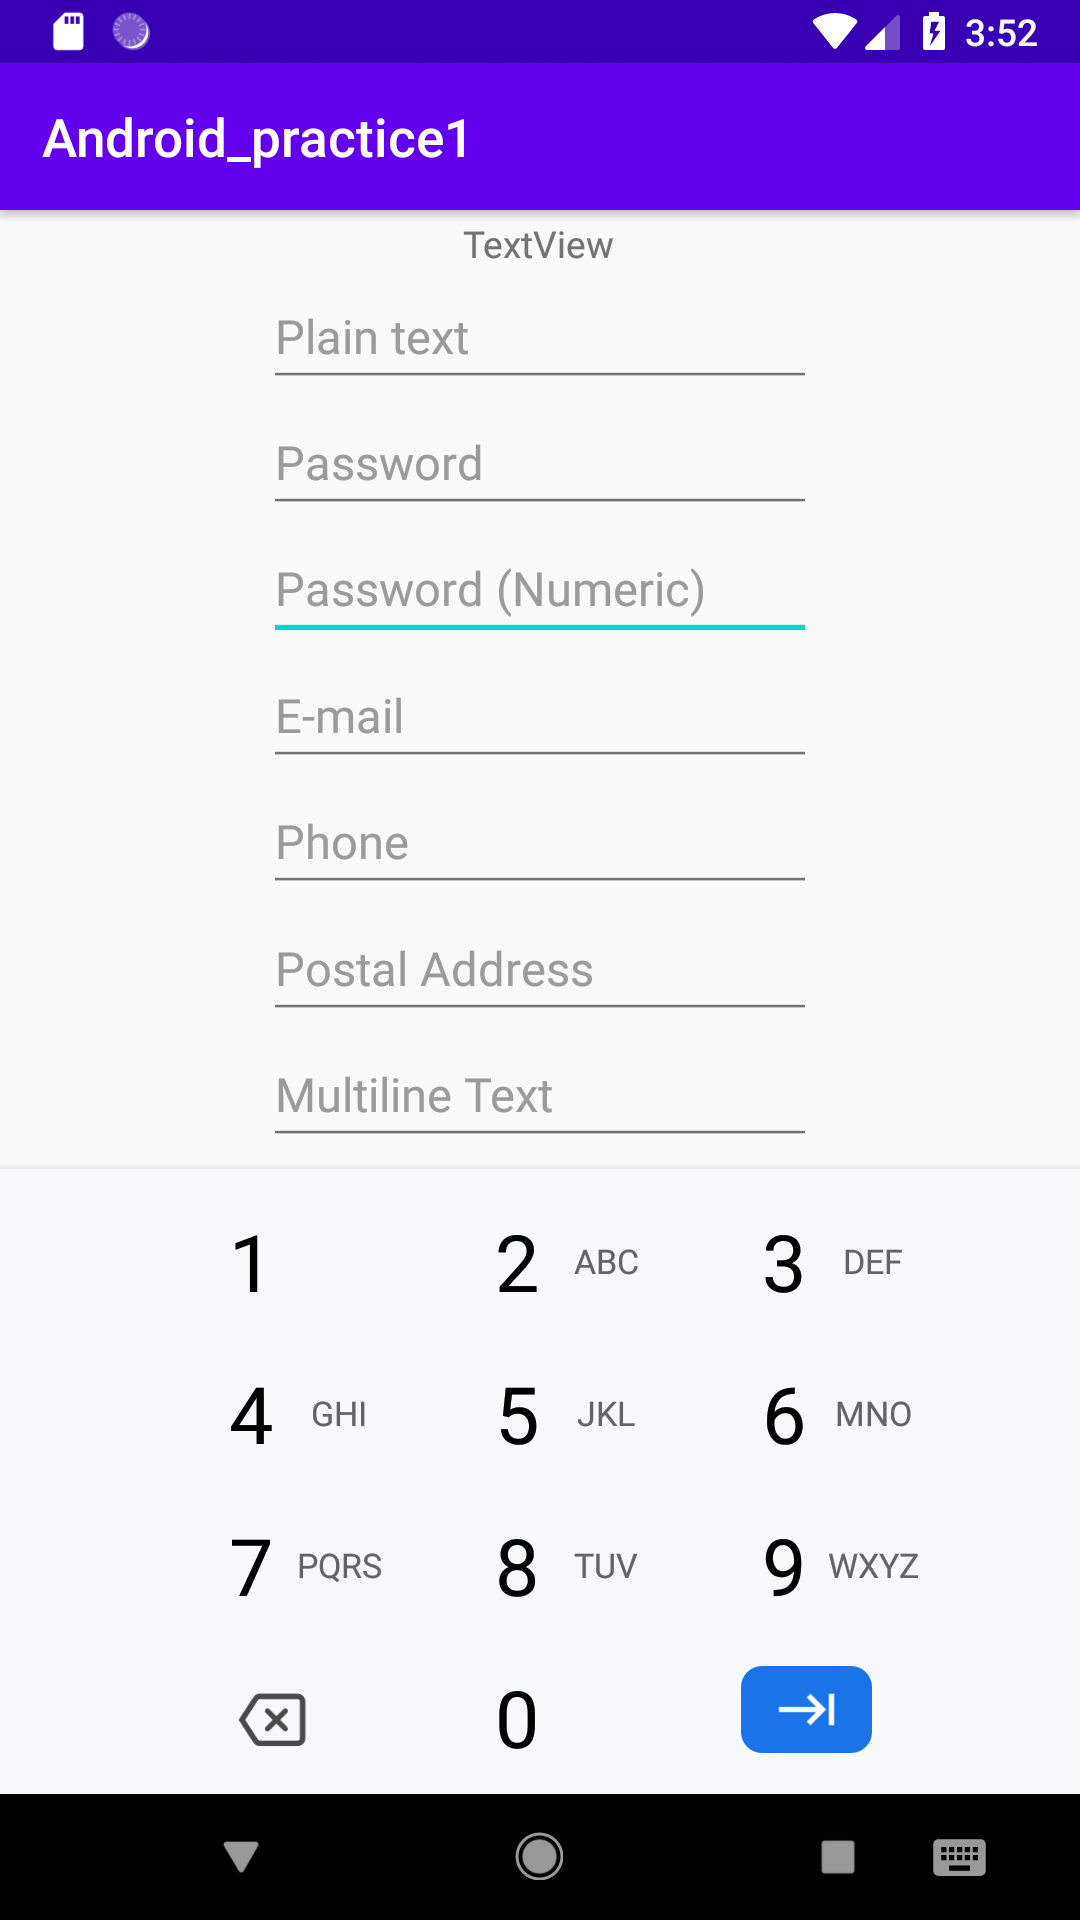
위 사진은 실제로 TextView부터 Number (Decimal)까지 구현한 사진입니다. Text View를 제외하고 모두 비슷하게 생긴 것을 알 수 있습니다. 또한 다른 텍스트들을 선택했을 시 키패드가 다르게 구현되는 것을 알 수 있습니다. 그럼 코드를 한번 보겠습니다.
<!-- Plain Text xml Code -->
<EditText
        android:id="@+id/editTextTextPersonName2"
        android:layout_width="wrap_content"
        android:layout_height="wrap_content"
        android:ems="10"
        android:hint="Plain text"
        android:inputType="textPersonName"
        app:layout_constraintLeft_toLeftOf="parent"
        app:layout_constraintRight_toRightOf="parent"
        app:layout_constraintTop_toBottomOf="@id/Hello_world"
        app:layout_constraintBottom_toTopOf="@id/editTextTextPassword2" />
 <!-- Password (Nemeric) xml Code -->
 <EditText
        android:id="@+id/editTextNumberPassword"
        android:layout_width="wrap_content"
        android:layout_height="wrap_content"
        android:ems="10"
        android:hint="Password (Numeric)"
        android:inputType="numberPassword"
        app:layout_constraintLeft_toLeftOf="parent"
        app:layout_constraintRight_toRightOf="parent"
        app:layout_constraintTop_toBottomOf="@id/editTextTextPassword2"
        app:layout_constraintBottom_toTopOf="@id/editTextTextEmailAddress" />
 <!-- Time xml Code -->
 <EditText
        android:id="@+id/editTextTime"
        android:layout_width="wrap_content"
        android:layout_height="wrap_content"
        android:ems="10"
        android:hint="Time"
        android:inputType="time"
        app:layout_constraintLeft_toLeftOf="parent"
        app:layout_constraintRight_toRightOf="parent"
        app:layout_constraintTop_toBottomOf="@id/editTextTextMultiLine"
        app:layout_constraintBottom_toTopOf="@id/editTextDate" />
코드를 보면 확연하게 알 수 있듯이 모두 EditText로 구현되어 있습니다. 다른 부분은 바로 android:inputType 부분으로 이 부분이 키패드의 형태를 정해준다고 보시면 되겠습니다.
'Android' 카테고리의 다른 글
| API27 에뮬레이터에서 결제 안되는 현상 (1) | 2021.03.14 |
|---|---|
| MultiDex 에러..? (0) | 2021.03.14 |
| Design Palette 훑어보기 - Layout편 (0) | 2020.09.25 |
| Design Palette 훑어보기 - Button편 (0) | 2020.09.24 |
| Design Palette 훑어보기 - Text편 - 2 (0) | 2020.09.23 |


